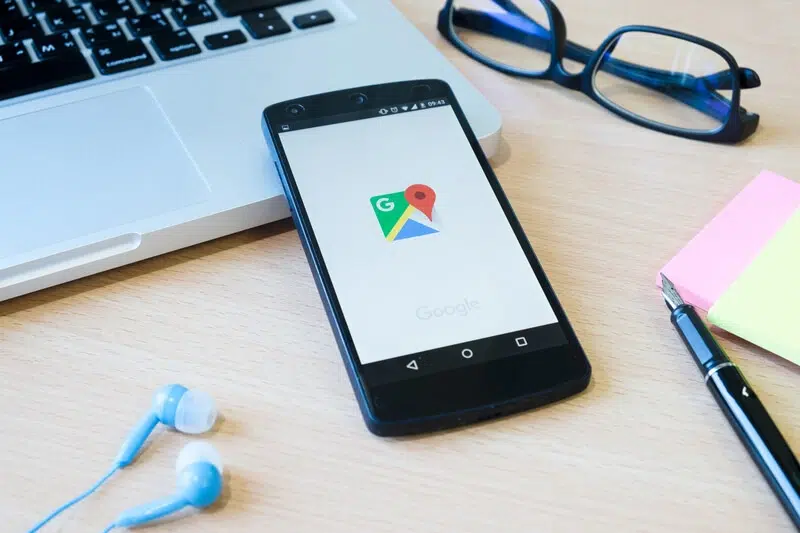
Timeline is an essential tool for tracking your locations and trips. Whether you’re using it for personal purposes or tracking your trips for work, keeping your timeline accurate is important. However, many users have encountered issues with Timeline, particularly following the most recent updates. This guide will walk you through Timeline recovery, ensuring you can track your routes again on both iPhone and Android.


Timeline Recovery on iPhone
If you’re using an iPhone, here are some steps to recover Google Timeline and get your timeline back on track:
Step 1: Enable Location Services
First, ensure that location services are enabled. Go to your iPhone settings, tap on “Privacy & Security,” then turn on “Location Services”. Moreover, scroll down and make make sure they are turned on for Google Maps.
Step 2: Update Google Maps
If you haven’t updated the app, now is the time. Updates can resolve many issues related to the new Google Maps changes, including those that affect Google Timeline on iPhone. Go to App store, find Google Maps and see if there are updates queued. Moreover, consider turning automatic updates on.
Step 3: Manage Timeline Data Storage
Since Timeline is now stored locally on your phone, ensure that your device has enough storage space. Also, check your app permissions and consider syncing your Data with your account for cloud storage.
Update: The recent deletion of your Timeline due to a technical issue might be reversible if you previously enabled cloud backup. In the Google Maps app:
- Go to your Timeline
- Tap on the cloud icon
- Select your device to import data
Users reported varying effectiveness of this Google-recommended method, sent by e-mail.
Step 4: Clear Cache and Data
Sometimes, clearing cache and data can resolve issues.

Timeline Recovery on Android
Android users facing issues with Timeline can follow these steps for recovery:
Step 1: Enable Location Services
Ensure that location services are enabled by heading to your apps in settings and turning them on for Google Maps.
Step 2: Update Google Maps
Using an outdated version of the app may cause Timeline to malfunction and fail to record accurately. Check the Google Play Store for updates and install the latest version.
Step 4: Manage Timeline Data Storage and Permissions
Like iPhones, Android devices now store your Timeline data locally. Make sure your phone has enough space and that Google Maps has the necessary permissions to save timeline data. Additionally, consider syncing your Data with your account for cloud storage.
Update: The recent deletion of your Timeline due to a technical issue might be reversible if you previously enabled cloud backup. In the Google Maps app:
- Go to your Timeline
- Tap on the cloud icon
- Select your device to import data
Users reported varying effectiveness of this Google-recommended method, sent by e-mail.
Step 5: Clear Google Maps Cache and Data
On Android, clearing cache and app data is easy. Go to your device settings, tap on Google Maps, and clear cache and data to refresh the app.
Step 7: Adjust Background Data and Battery Optimization
Ensure that the app is not restricted by data or battery optimization settings. This ensures that your Timeline data is recorded even when the app runs in the background.
Your checklist to Keep Google Timeline Working Smoothly
To keep Timeline intact, follow these tips:
- Always keep Google Maps updated.
- Enable Google Location History to ensure your timeline data is recorded.
- Regularly check your network connectivity. A good mobile data connection ensures smoother tracking.
- Manage your phone’s storage and auto-delete settings to avoid losing Google Timeline data.
- Enable cloud backup so you can import it to a new device.
Additional Considerations
If you use Google Maps to track trips for taxes, consider using a mileage tracker app like MileageWise, which specializes in tracking your work-related drives and creating IRS-Proof mileage logs from your Google Timeline. Avoid losing your data due to faulty updates!
Is your Timeline Data Gone? No worries! If your Google Timeline is missing and you lost data, reconstruct your trips with MileageWise’s very own AI Wizard Mileage Log Generator! With our AI-powered tool, you can recreate your past miles and fill in the gaps with ease while ensuring IRS compliance. Embrace the simplicity and accuracy of our solution and maximize your tax savings.
FAQs