What do you want to find out?
Note: The Refueling / Charging tab is only available for users working with the Actual Expense Method. In the case of using the Standard Mileage Rate, you only need to log your arrival at the gas / charging station (the trip itself), as you would with any other client / location. Adding a refueling / charging is only necessary when using the Actual Expense Method.
In Calendar View
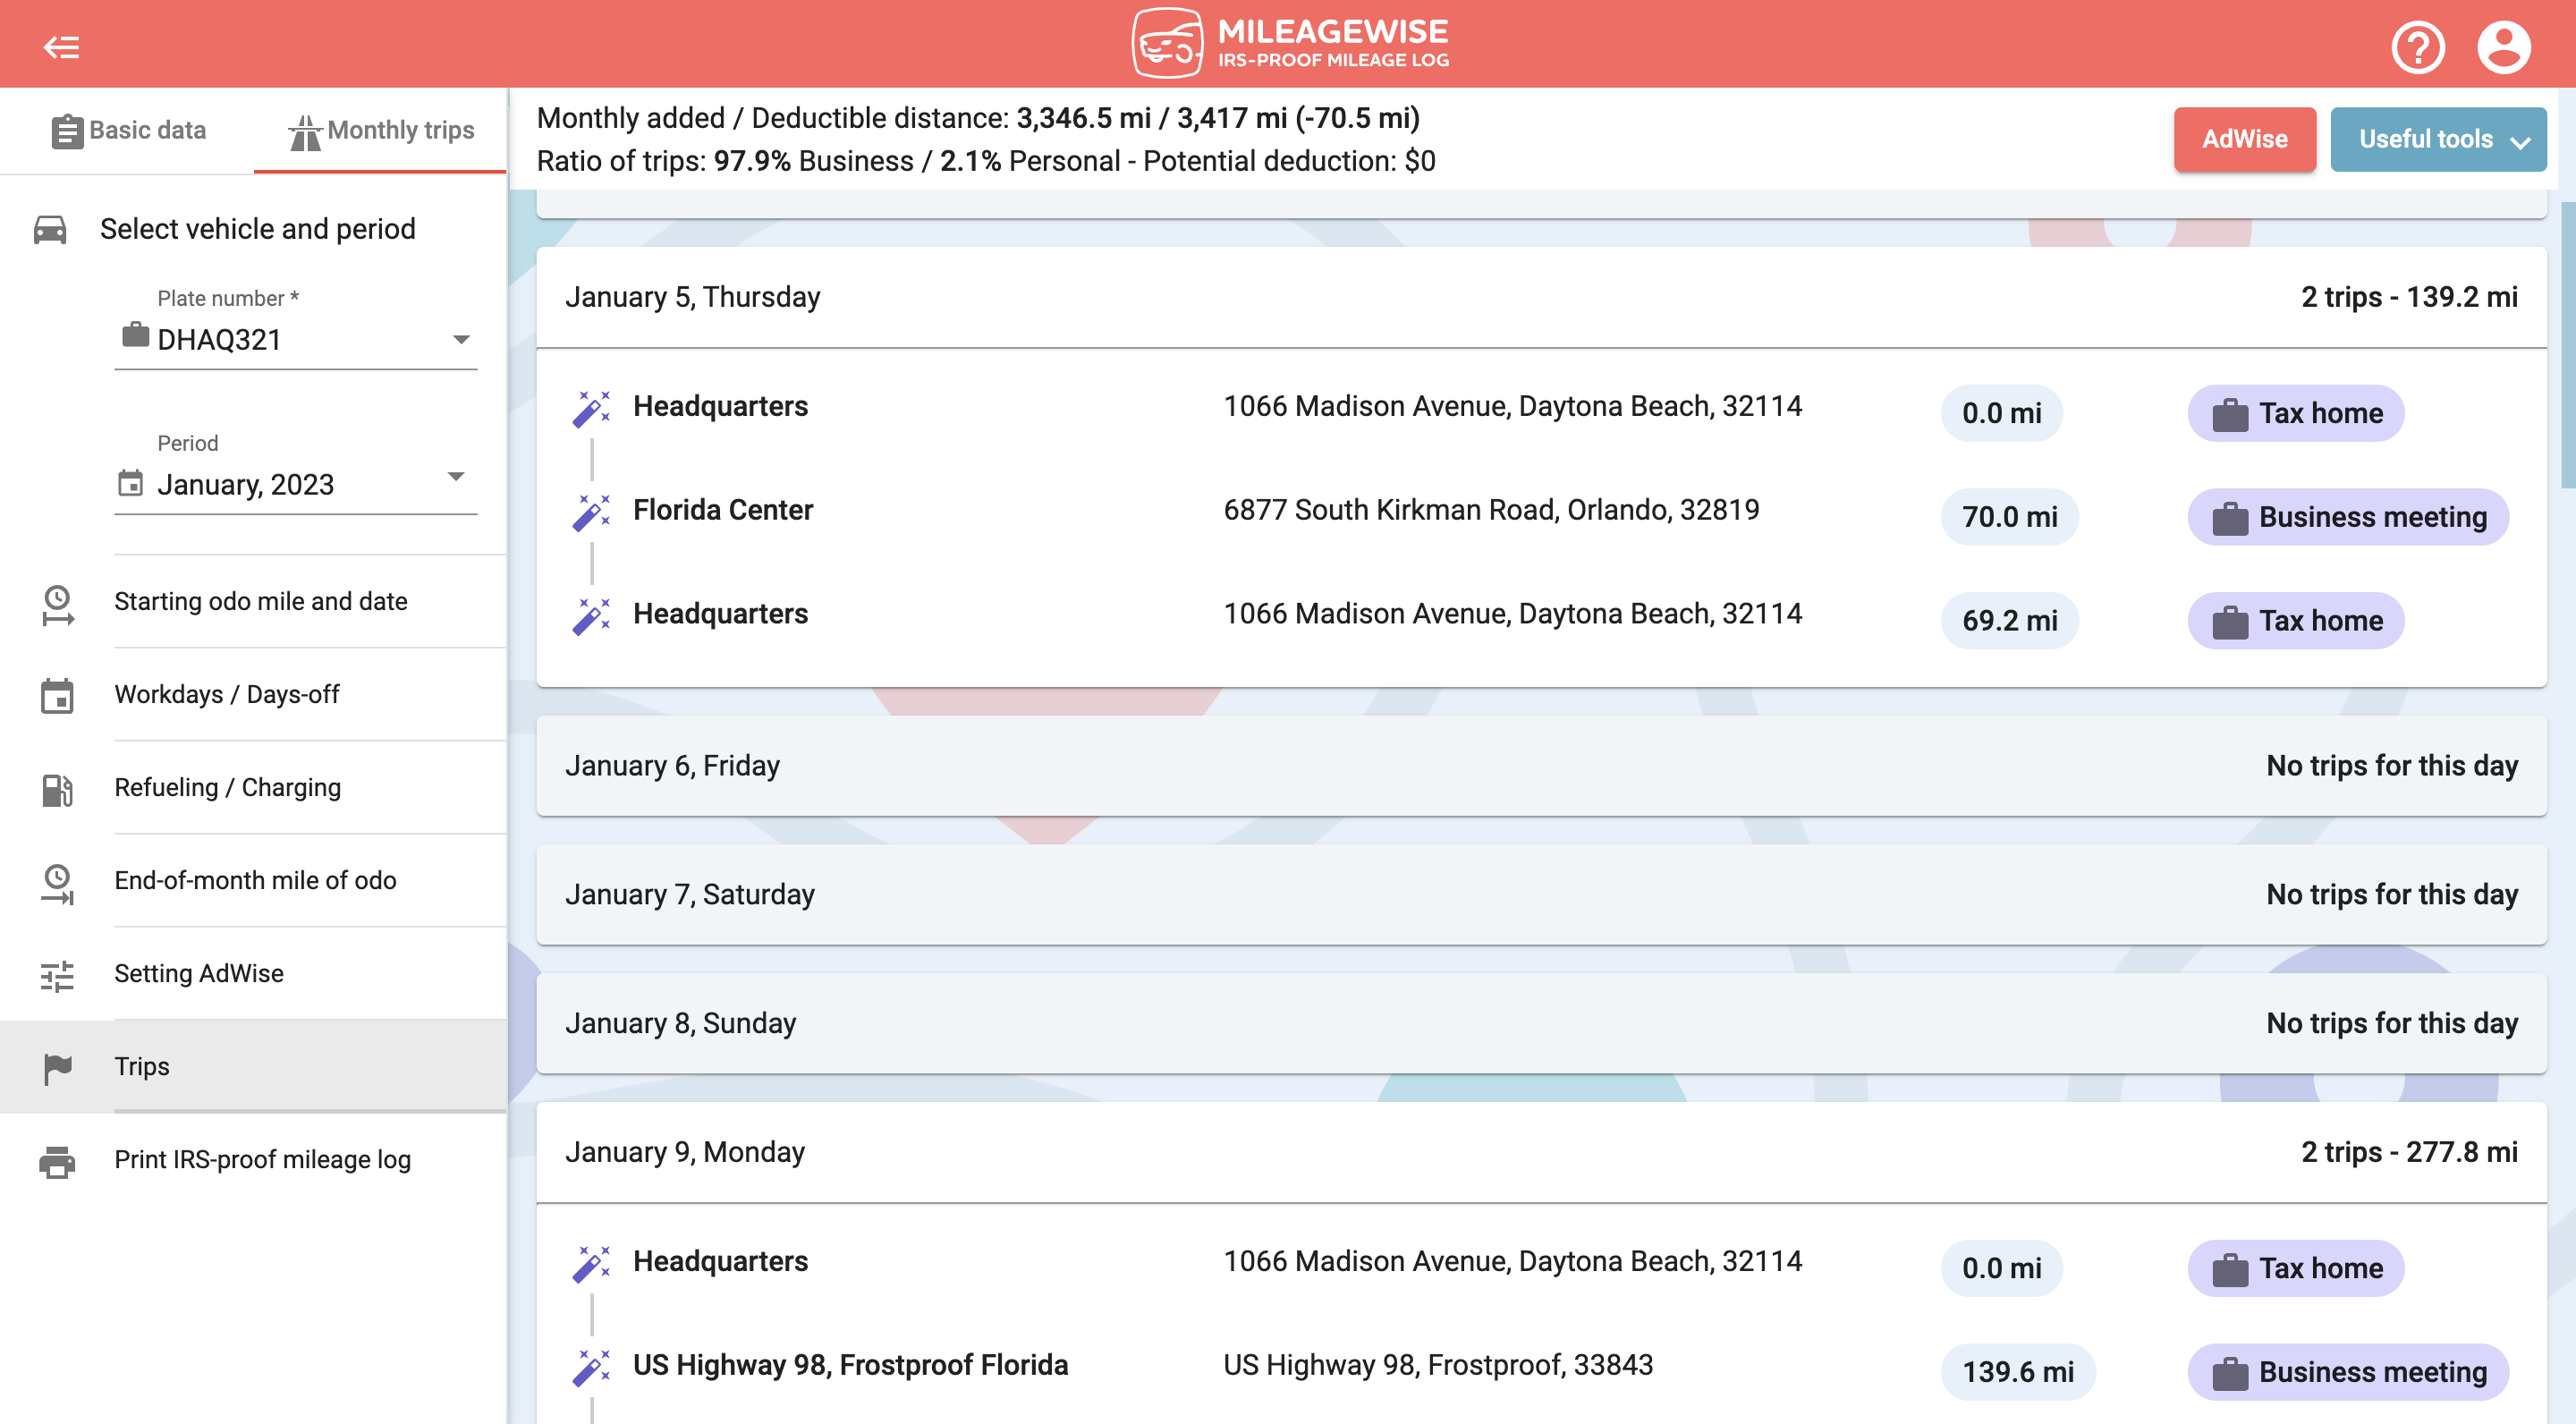
In Calendar view, you can see the days you have previously recorded a refueling / charging at the Refueling / Charging tab, Fixed trips you have recorded in the Mileage Tracker App, and your Recurring daily trips here.
If you entered a mid-month day when recording your monthly starting odometer reading the calendar will not show the earlier days of the month.
At the top, you can read the total number of miles you have recorded so far and the current ratio of your business / personal trips.
The deductible distance is the difference between the starting and closing odometer readings for the month. Try to match these two perfectly, so that all the miles are used up and accounted for (in the brackets you can see how many miles are missing or how much more you have recorded than you should’ve).
Note: When using the Standard Mileage Rate, missing mileage (difference between your monthly added and deductible distance) will automatically be counted as and added to your monthly total personal miles. This means that you will still be able to print out your IRS-proof mileage log even if the monthly added and deductible distance doesn’t match.
Here you can add the trips that you would surely like to include in your mileage log.
Click on the day for which you want to record a trip.

In List View
If you would like to try a different way to view your Fixed trips rather than the Calendar view, you can also try the List view. You can find this option by clicking on the top summary row in the drop-down menu where you can click on the Useful tools button and select List view.
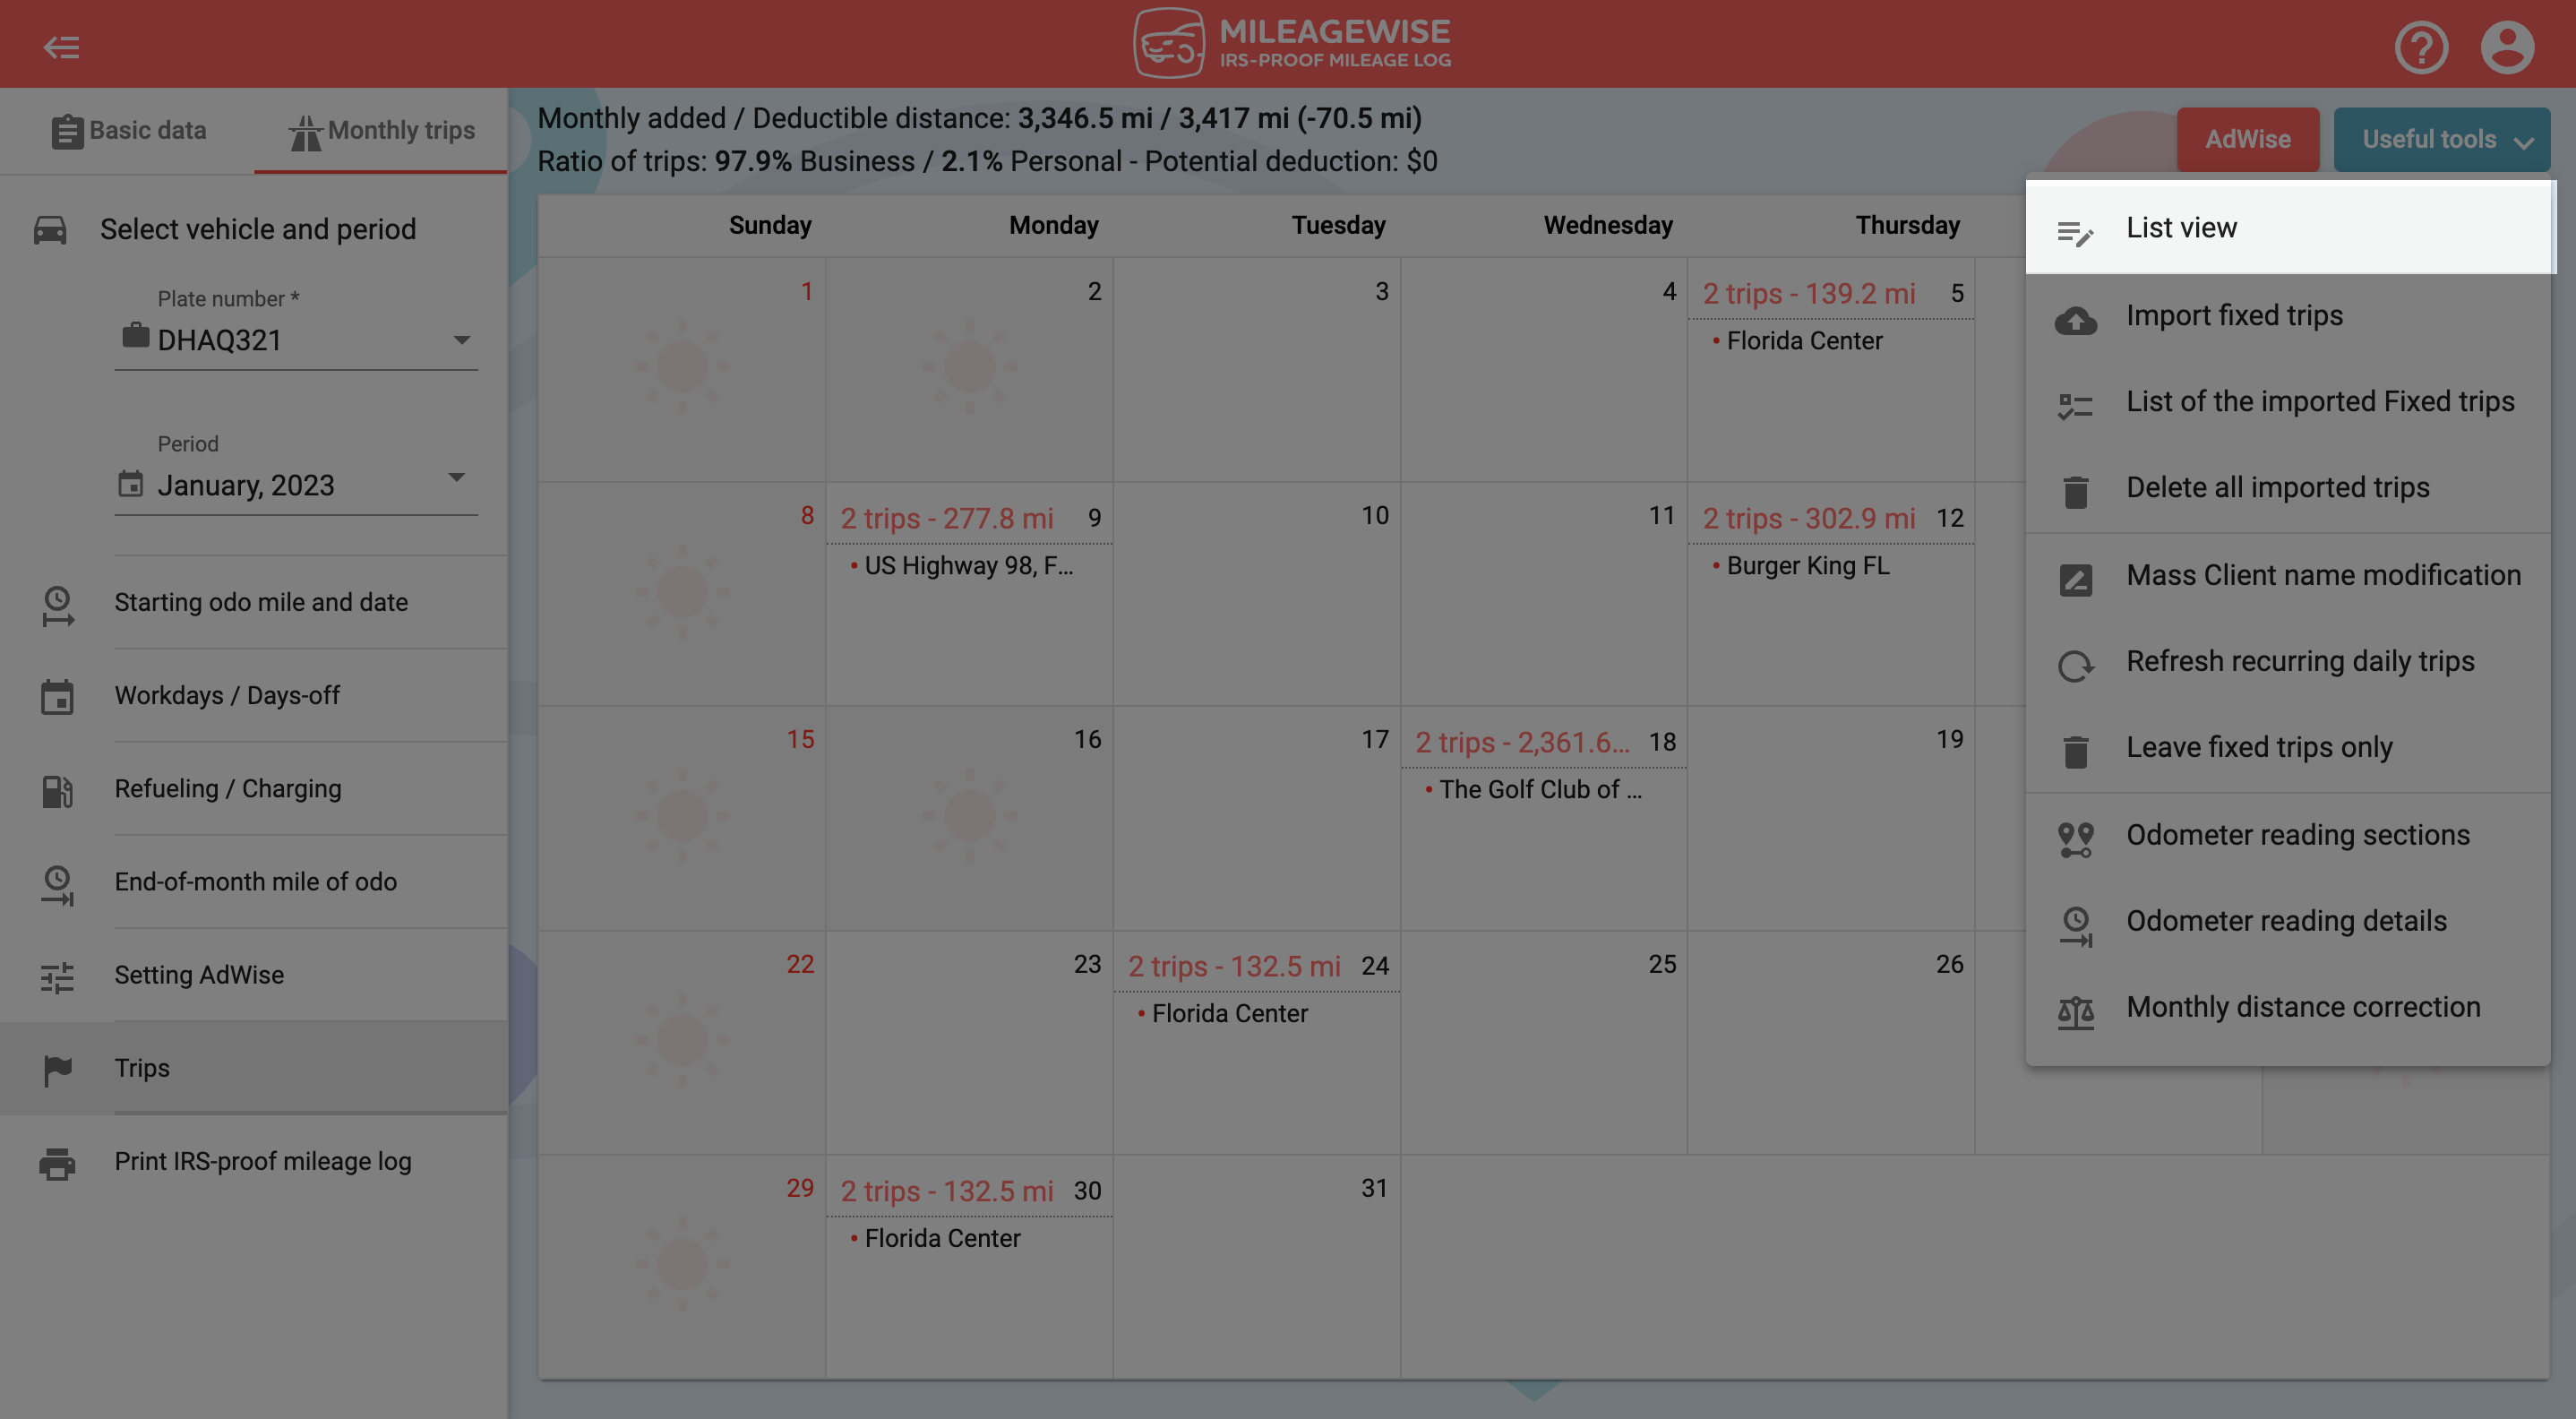
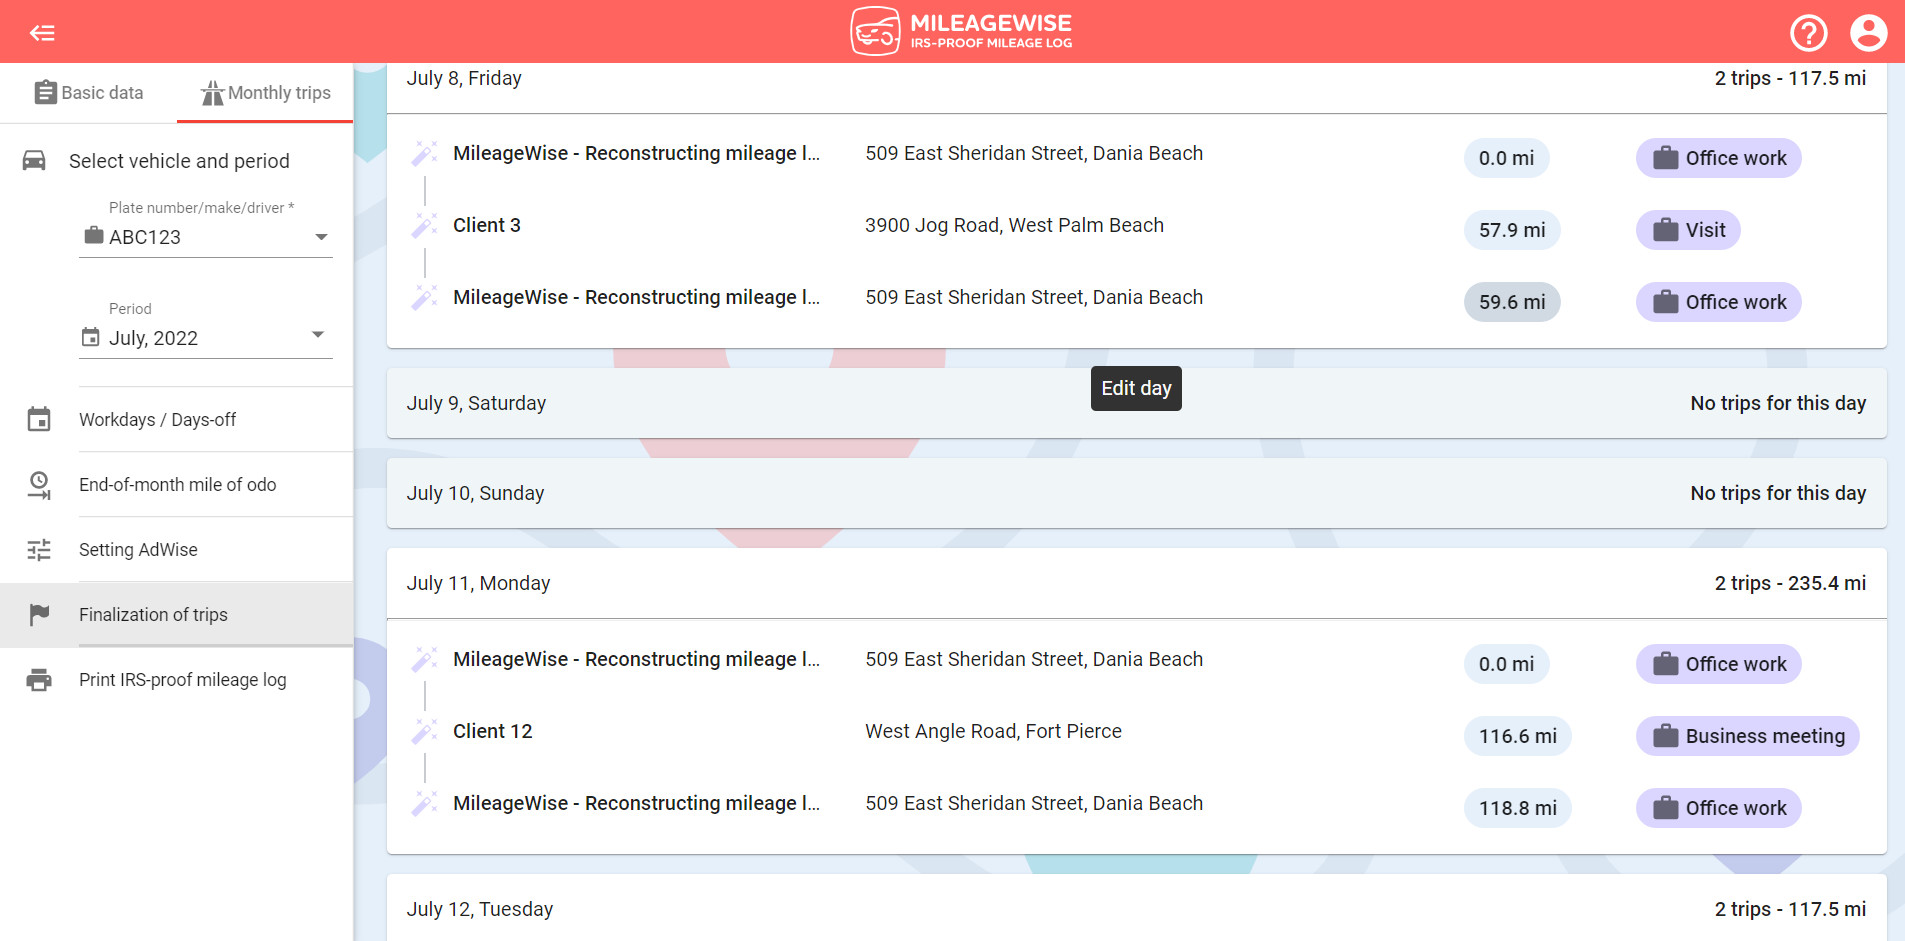
Here you can add the trips that you would surely like to include in your mileage log.
Click on a day to edit it and/or record your trips.
Your default daily departure / arrival point will automatically be filled in as the first and last trip for each day. Fixed refuelings / chargings also appear here. If your last destination was not the default daily departure / arrival point for the previous day, then the last point you have recorded for the previous day will be the first trip of the next day. Select the client you want to add from the drop-down menu. You can add a new client with the “Add new client” option at the end of the list of your trips. To narrow down the list of results, start typing your client’s name!
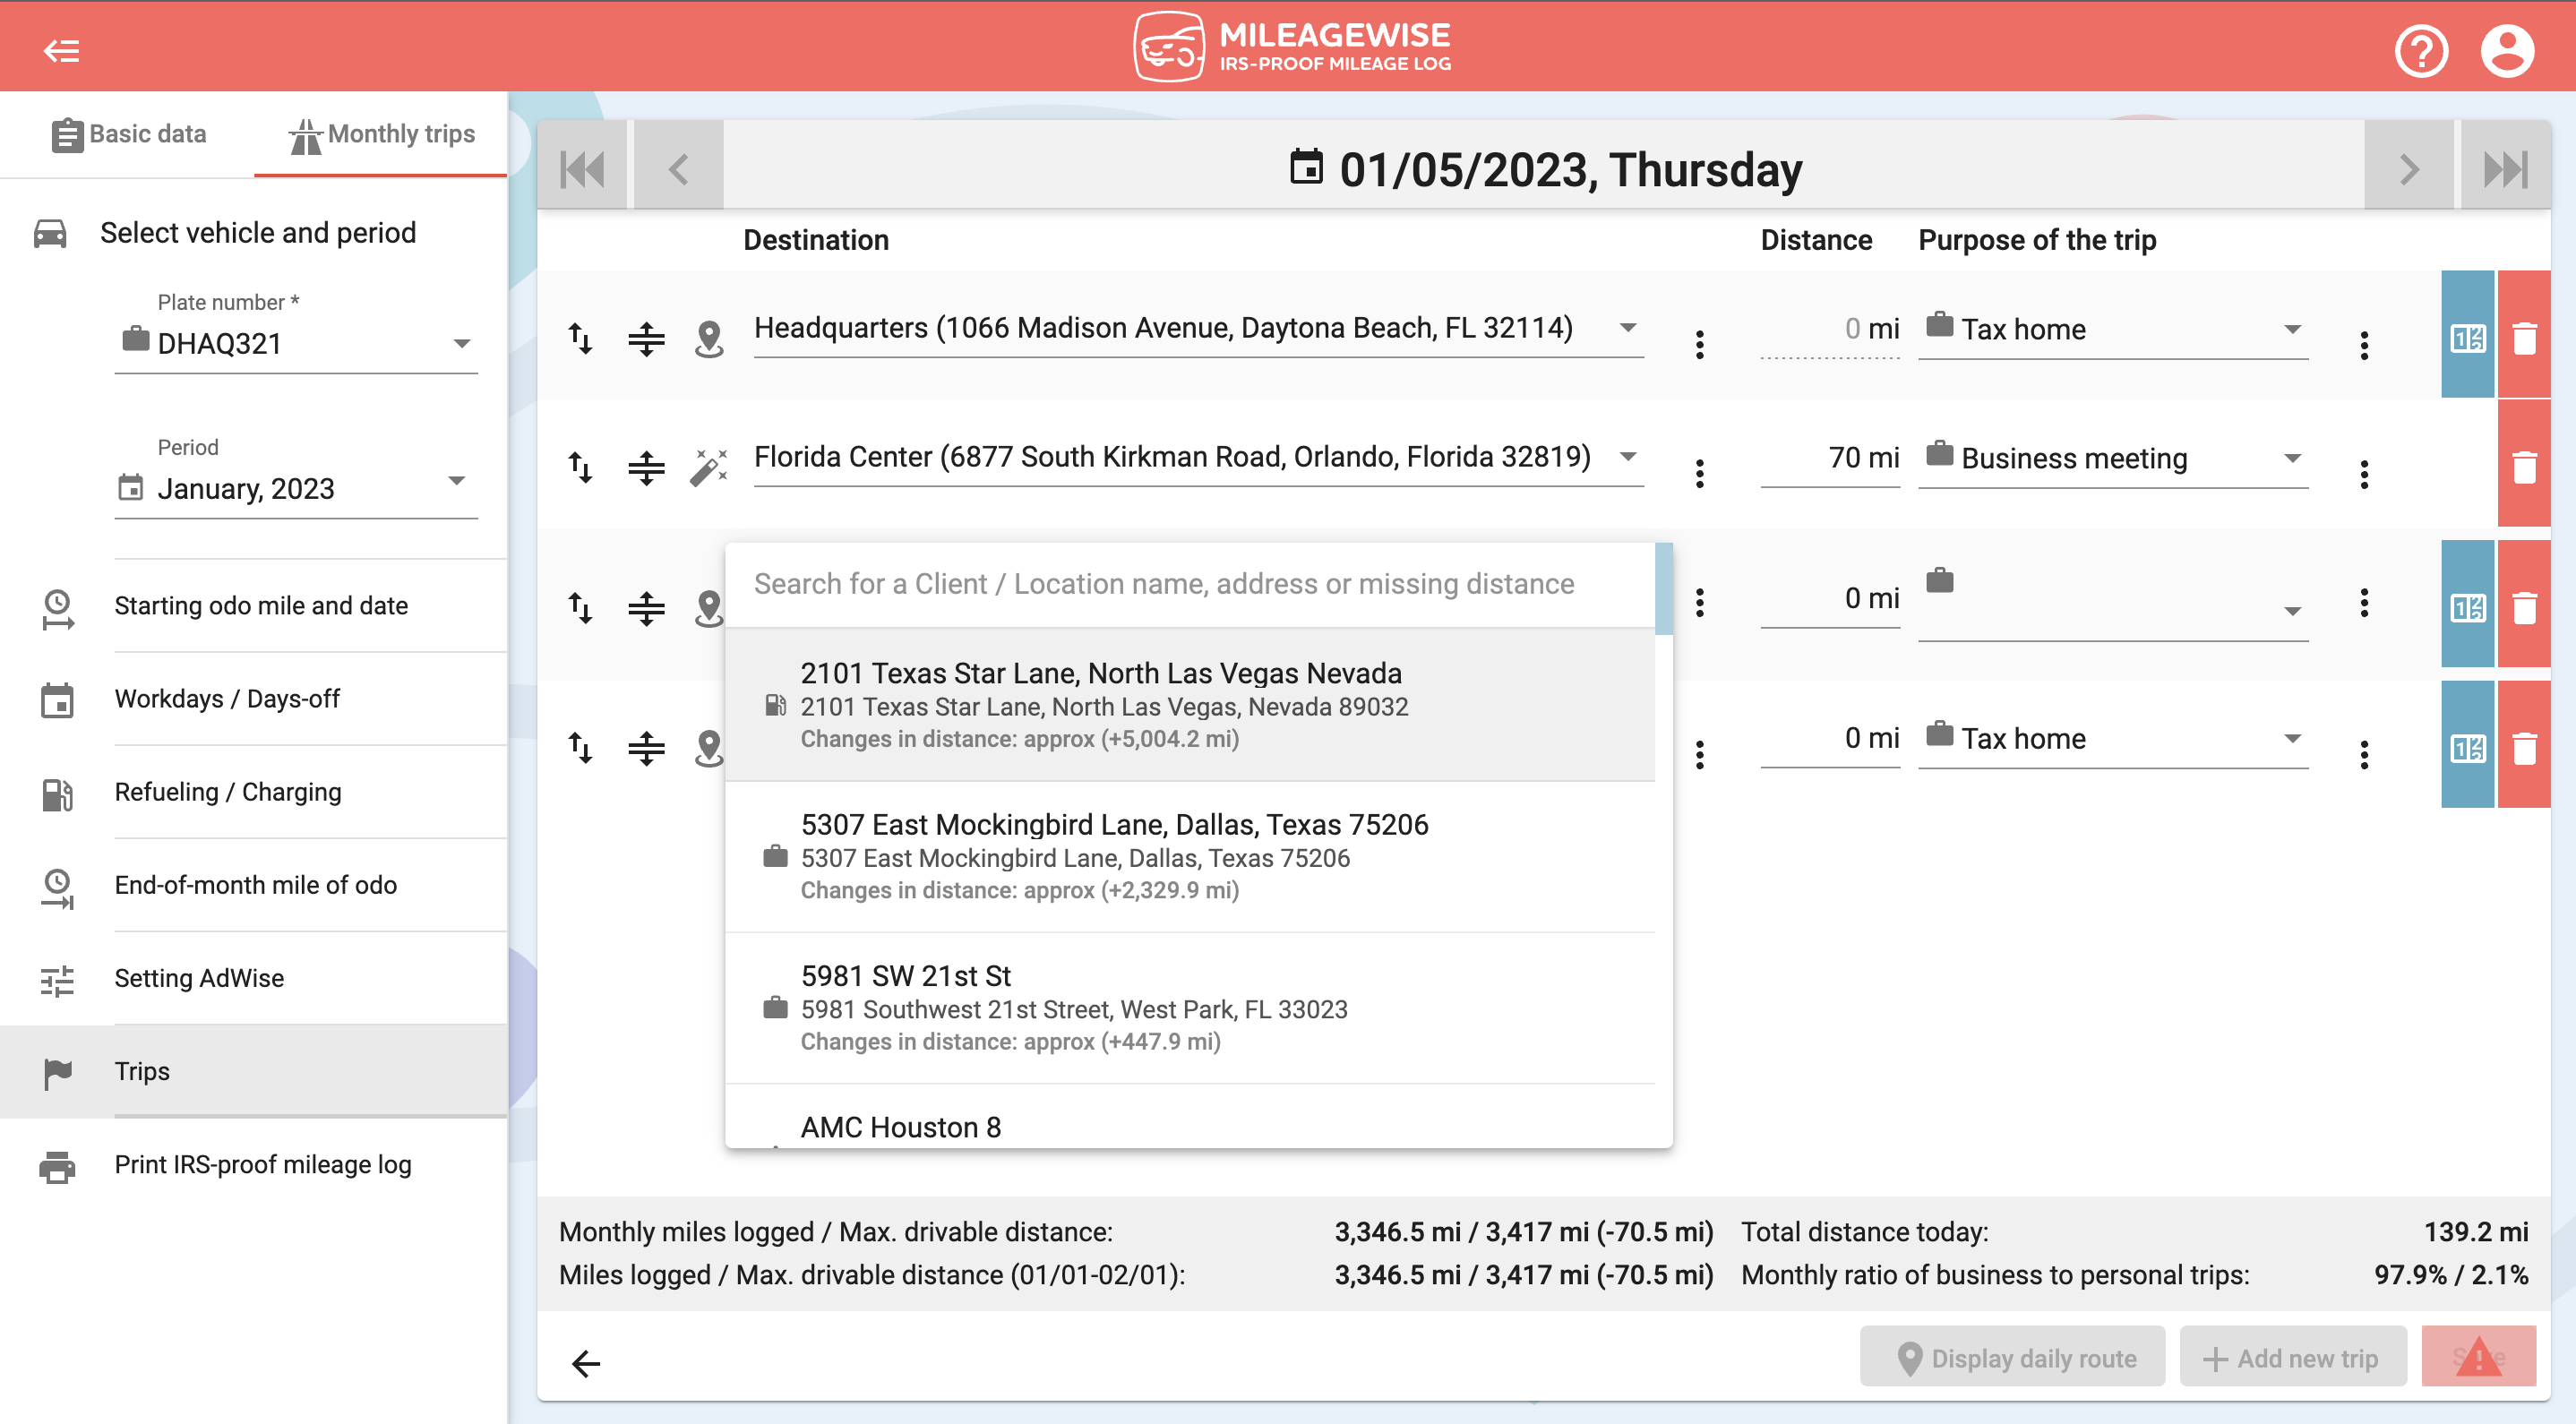
If you would like to add a client / location that is not already in your client list, you can do so by starting to type the new client / location. Then click on the “Add a new Client / Location” option. In the new window that pops up, the address information that you typed in earlier will be filled in and searched for on the map automatically so you don’t have to type the address again.
This way, the client is added to the client list, and the trip purpose will also be displayed. You can select another trip purpose by clicking on the trip purpose field (or moving on with the tab key). You are also able to add new trip purposes different from the default trip purposes! You can set trip purposes as business or personal trip purposes. Pay attention, this will determine whether the program counts this trip as a business or personal trip when visiting (and leaving) a given point!
Refueling / charging is a neutral trip purpose.
This means that if you record a refueling / charging for a given day, the business or personal purpose of refueling / charging will be determined by the destination before and after it. If both before and after trips are business trips the refueling / charging will be a business trip as well. If the before or after trips are personal ones, the refueling / charging will be a personal trip as well. (According to relevant legislation, starting from a personal client and arriving at a personal client must always be considered a personal trip.)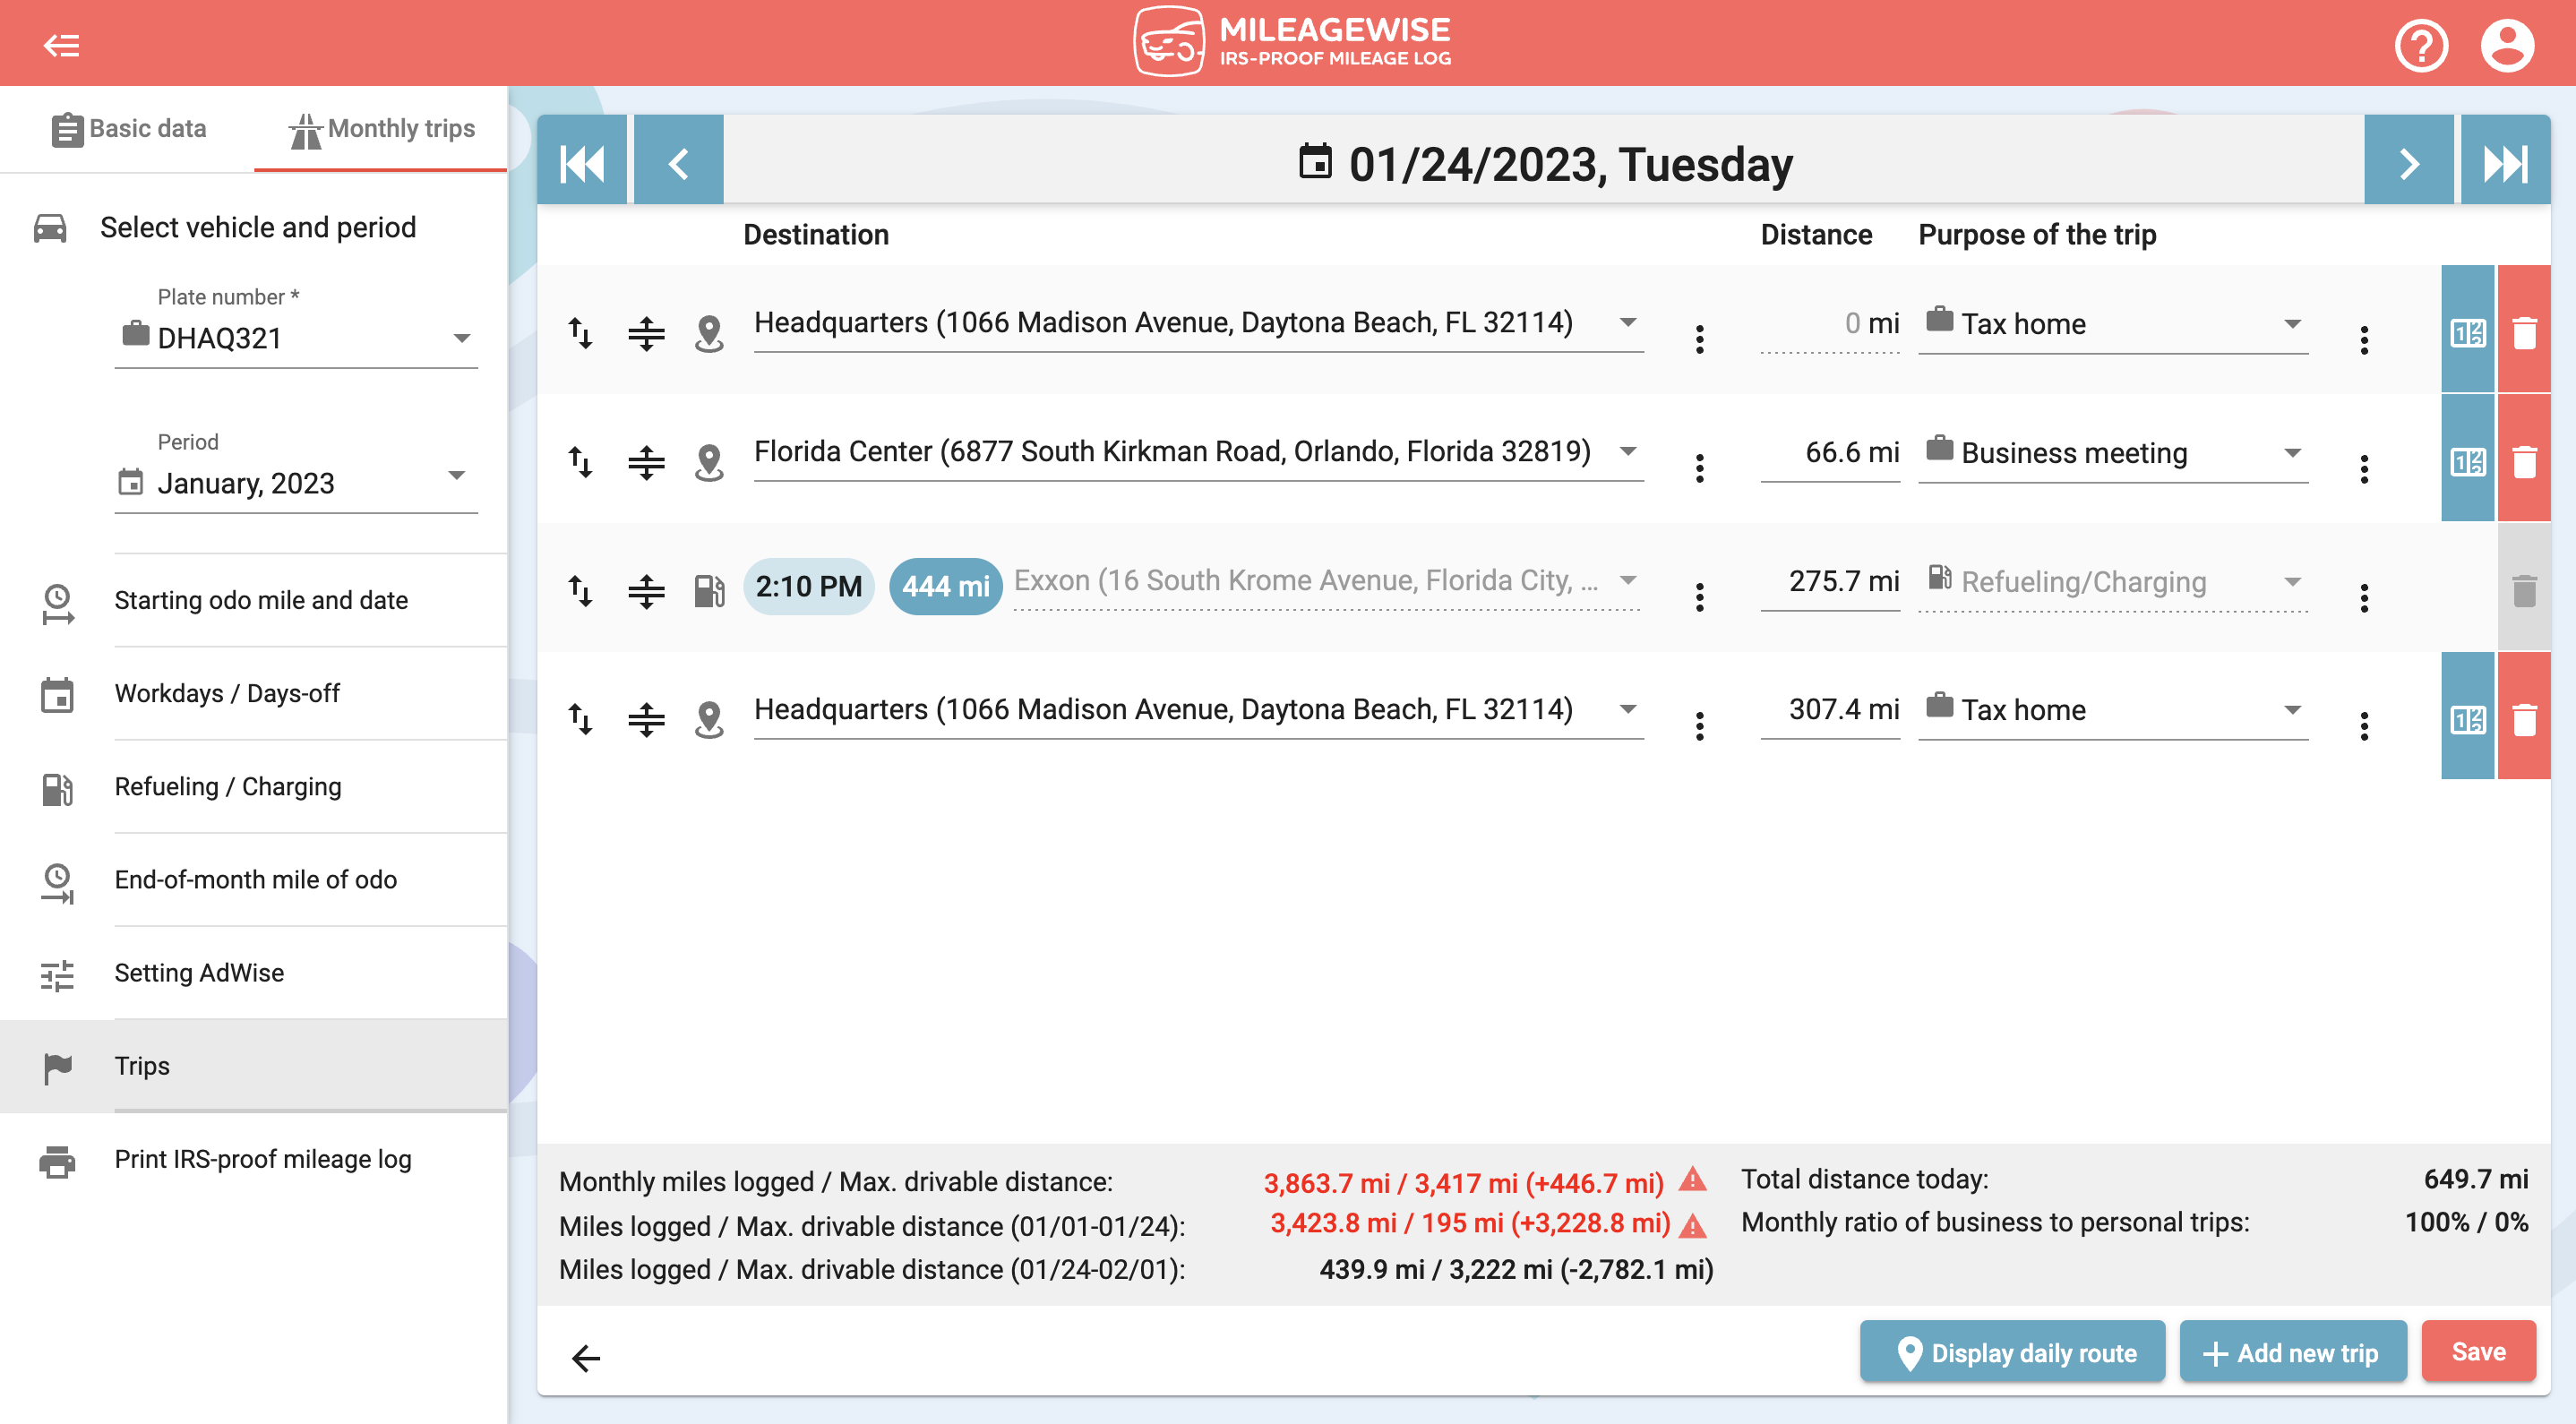

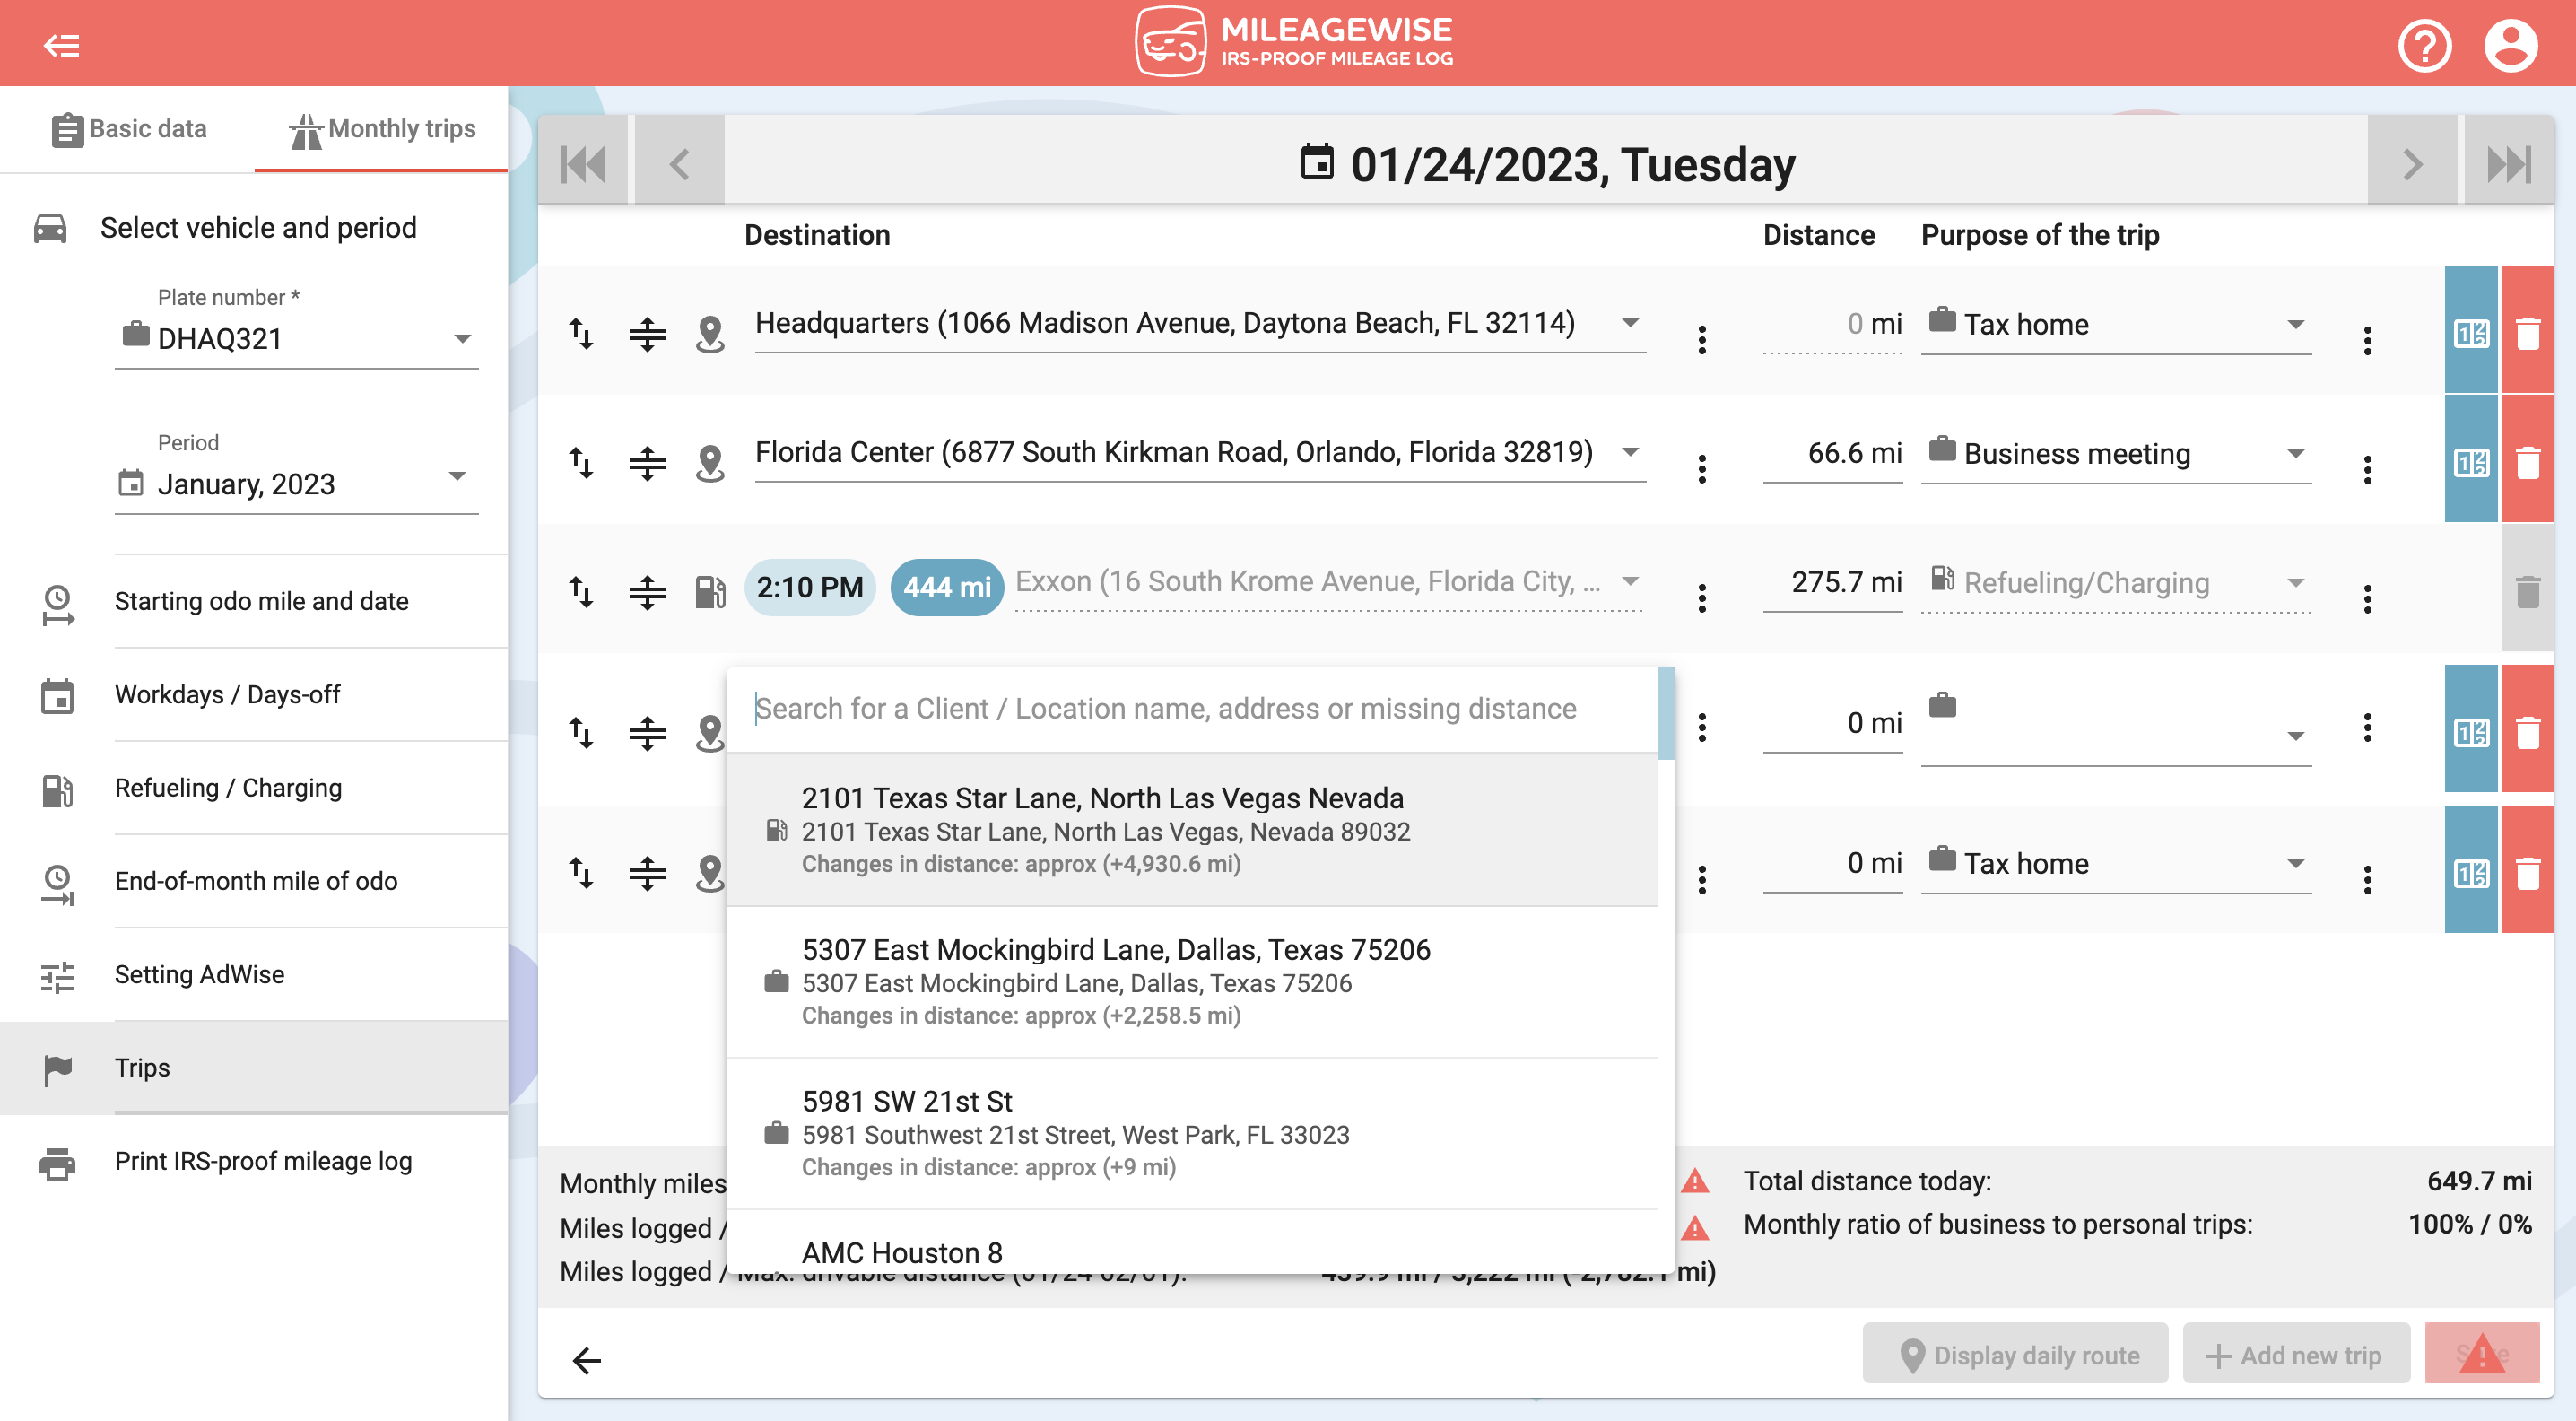
With the ![]() button, you can insert a new row below or above an existing one in the list, and you can rearrange the order of the clients by clicking on the
button, you can insert a new row below or above an existing one in the list, and you can rearrange the order of the clients by clicking on the ![]() button. You can delete a row by clicking on the
button. You can delete a row by clicking on the ![]() icon. When picking up a new vehicle, delete the default daily departure / arrival point from the beginning of the day of the takeover, and if you’re away on a business trip for more than a day, delete the default daily departure / arrival point at the beginning and end of the day for all of the days you were away.
icon. When picking up a new vehicle, delete the default daily departure / arrival point from the beginning of the day of the takeover, and if you’re away on a business trip for more than a day, delete the default daily departure / arrival point at the beginning and end of the day for all of the days you were away.
Once you have completed each visit, click Save!
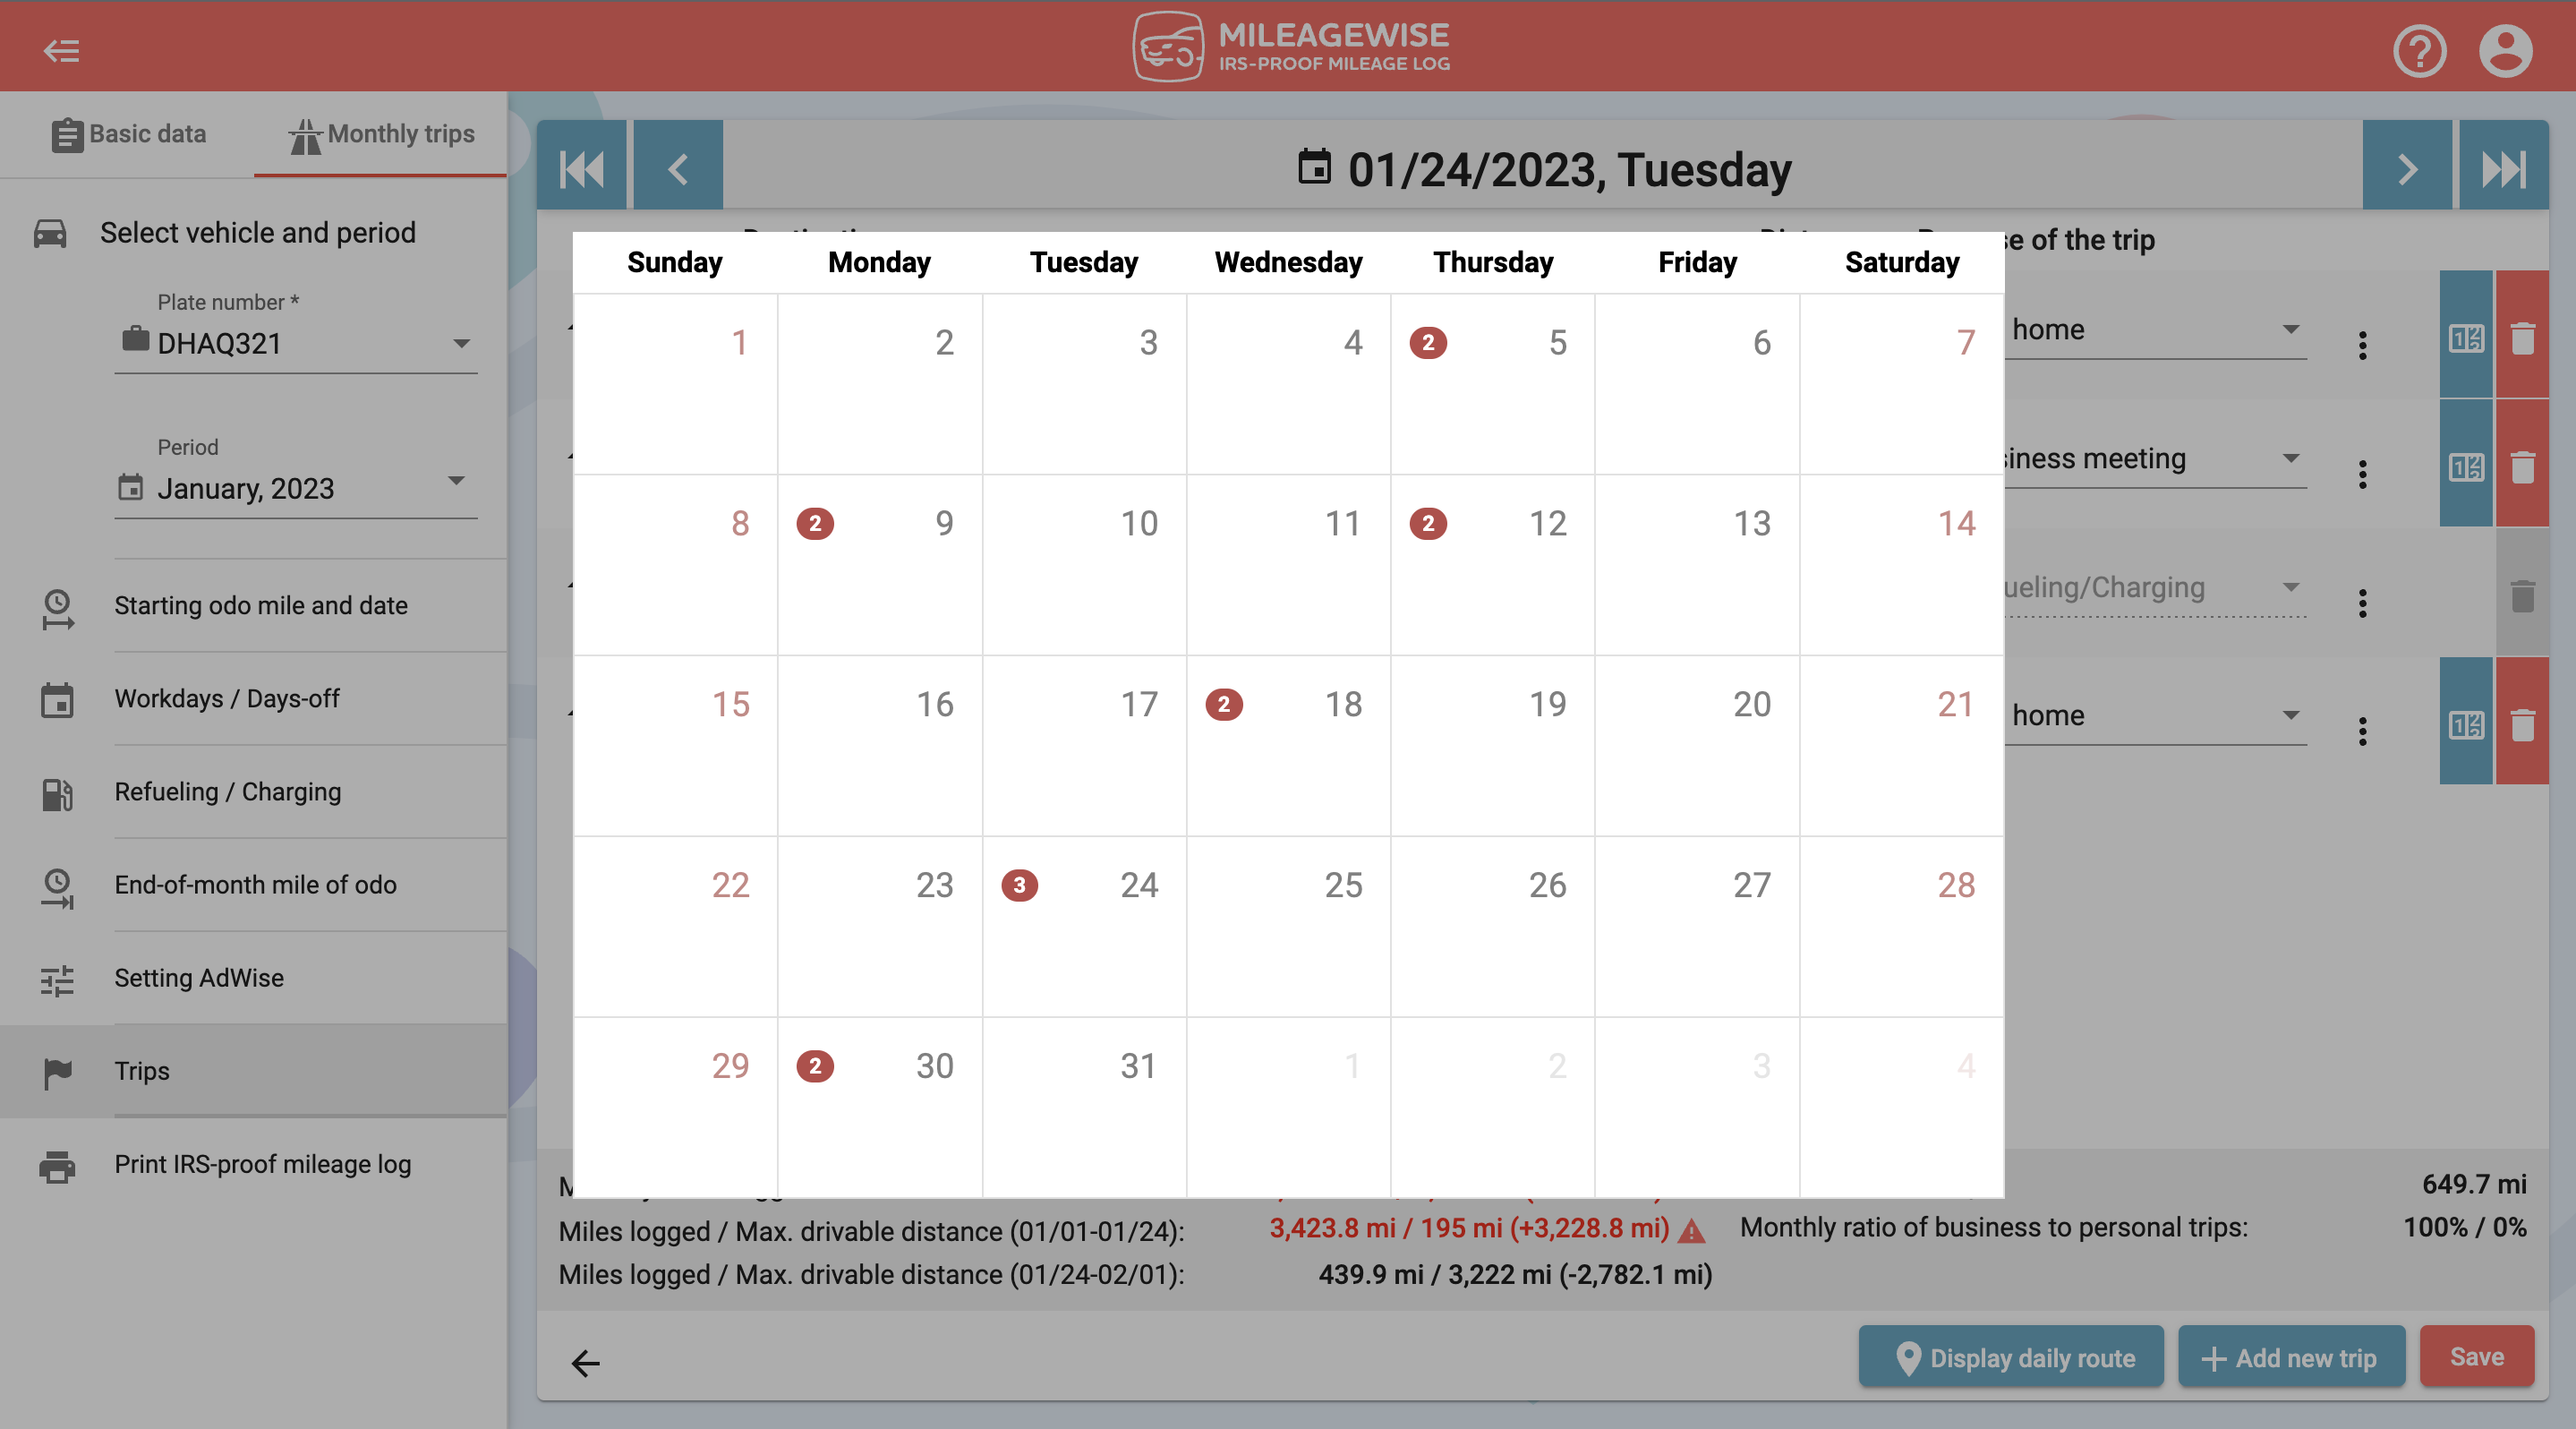
You can also choose to select a new day by clicking here![]() and choosing the desired date. Then red dots in the calendar will indicate the days on which a trip was recorded.
and choosing the desired date. Then red dots in the calendar will indicate the days on which a trip was recorded.
Or use the ![]() button to go to the previous day or the
button to go to the previous day or the ![]() button to go to the next day. Use the
button to go to the next day. Use the ![]() and
and ![]() buttons to move directly between days to which a trip has already been recorded (within the current month only).
buttons to move directly between days to which a trip has already been recorded (within the current month only).
When doing so the entered data will be saved automatically, you do not need to click the Save button!

By clicking on the date of the day a calendar will pop up, in which red circles with numbers in them will indicate for which day and how many trips have already been recorded.

In Calendar View
In the Calendar view of the Trips menu, you can then see which days you have recorded trips for so far.

In List View
In List View, you can then see which days you have recorded trips so far.
